

I’m a big fan of K6, it makes writing performance tests quick and easy. In fact I wrote about it previously on my blog in a post titled Performance testing APIs in pipelines? K6 makes it simple! What I didn’t mention in that post was how to lint K6. Now you might be thinking, K6 tests are written in JavaScript, how hard can it be to lint? The problem is that although we write K6 tests in JavaScript, K6 itself is written in GoLang, and so we run into issues with Linting when importing K6.
k6-linting-rules ESlint Plugin
Since originally writing this post I have created a plugin for ESlint, eslint-plugin-k6-linting-rules, that automatically adds the required rules. It is available via npm and so is simple to install and configure. You can read more about it in my post ESlint Plugin for K6 is now available.
The original solution to Lint K6
Thankfully there is a quick and easy solution, and that is to add a set of custom rules to our .eslintrc.js file
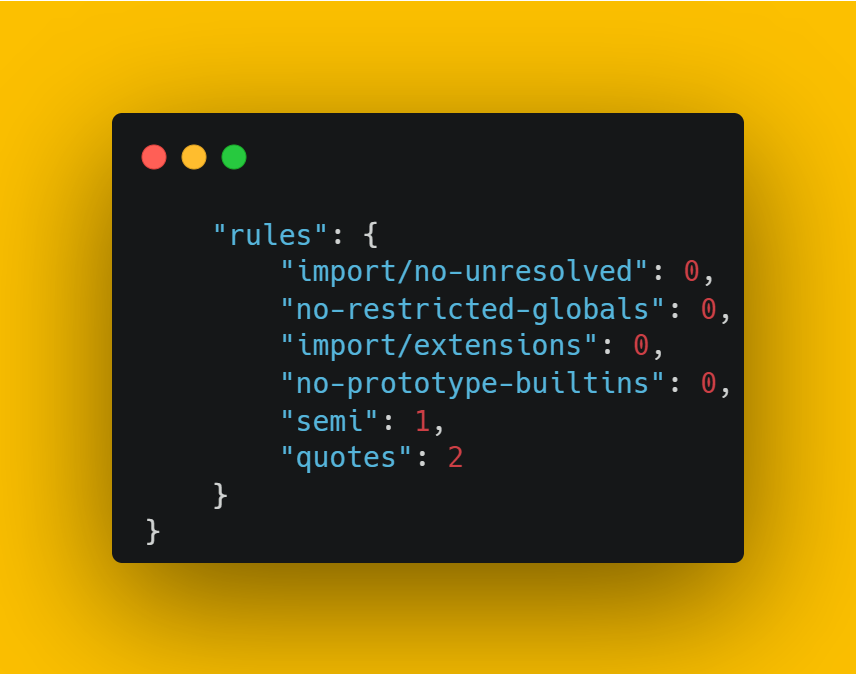
For ease of adding them to your own project, here they are in a copy / paste friendly way
  rules: {
    'import/no-unresolved': 0,
    'no-restricted-globals': 0,
    'import/extensions': 0,
    'no-prototype-builtins': 0,
    'semi': 1,
    'quotes': 2
}
These rules prevent eslint from complaining about the import and use of K6, while still allowing you to benefit from using a linter.
If you were already trying to setup linting K6 and you have found what you need, don’t leave yet! Be sure to check out the later section on running ESLint as a pre-commit hook! Also please show some love to the K6 community where I found this solution originally. If you are new to linting and want more information on how to set this up from scratch, read on!
Setting up ESLint to Lint K6
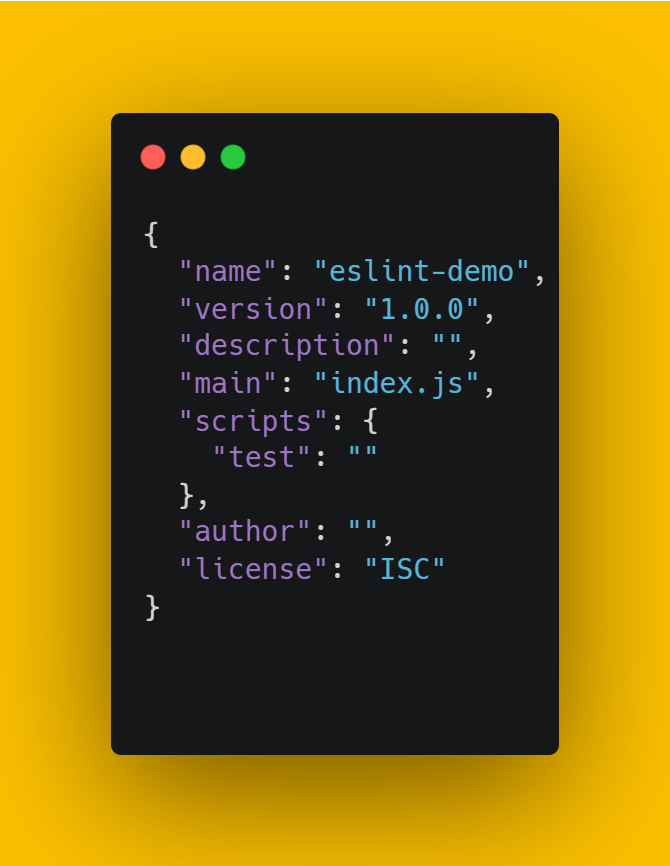
Initial setup is a breeze. Open a command prompt at the root folder of your project and, if you haven’t already got a package.json run
npm init
which will create one for you. That will look something like this
Next we want to run the eslint config by running
npm init @eslint/config
The configurator will prompt you for feedback on how you want to use ESLInt, the types of packages you are using, what framework you are using, if you are using TypeScript or not, if your code runs in browser or node along with a few others. Once you have worked through the configurator and the installation is complete, you have successfully installed eslint on your project and will now have a .eslintrc.js file that contains something like this
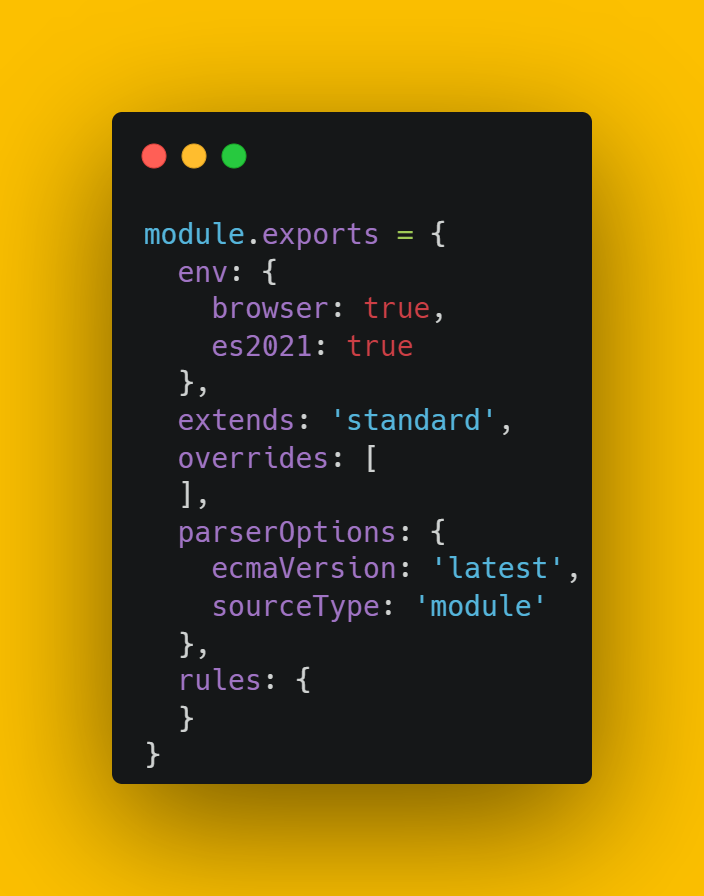
Into this file you should copy the below rules that will make ESLint work correctly with your K6 project.
  rules: {
    'import/no-unresolved': 0,
    'no-restricted-globals': 0,
    'import/extensions': 0,
    'no-prototype-builtins': 0,
    'semi': 1,
    'quotes': 2
}
Running ESLint
There are a couple of different ways we can run ESLint, and I will cover them both briefly below
ESLint Check
The most basic check we can run is to check our files using
npx eslint file1.js
which will allow us to check an individual file. You can also run the check against multiple files simultaneously using one of the following commands
# Run on two files
npx eslint file1.js file2.js

# Run on all files in a directory
npx eslint directory/**

# Run on all files in the repository
npx eslint **/**
ESLint is more powerful than just being a tool to check your code though, it can fix it too.
ESLint Fix
We can use any of the above commands and add the argument –fix to it, to automatically fix our linting errors. For example
npx eslint directory/** --fix
It doesn’t work for all errors, but for most simple and stylistic errors it works brilliantly. We can take things one step further though.
Pre-commit Hooks
There are a few different tools out there that you can use for pre-commit hooks, for this example I will demonstrate setting up Husky.
Installing Husky
Another straight forward installation, simply run the below command from your command line at the root of your project
npm install husky -D
Next we need to run the configuration. First up run the below commands to get started
npm pkg set scripts.prepare="husky install"
npm run prepare
If all is successfully setup you will get a message that confirms
husky - Git hooks installed
Creating our pre-commit hooks
Another really simple step, to do this we have to tell Husky what to do when we try to commit. This is as simple as
npx husky add .husky/pre-commit "command goes here"
Where you would replace command goes here with the ESLint command you want to run, likely npx eslint **/** to run against all files in the repository.
And that’s it, your pre-commit hook is now successfully configured and ESLint will run a check against your code before every commit!
For a deeper dive into Pre-commit hooks, check out this post dedicated to just that.
Summary
Now you can lint your K6 tests and ensure consistent coding standards and formatting. Adding the pre-commit hook is a nice touch too, it makes sure nobody can accidentally break your standards only to be caught later in the pipeline by a run of the linter, or worse, sneak it into main!
If you liked this post, you may also be interested in my post about running K6 tests in a pipeline.
Subscribe to The Quality Duck
Did you know you can now subscribe to The Quality Duck? Never miss a post but getting them delivered direct to your mailbox whenever I create a new post. Don’t worry, you won’t get flooded with emails, I post at most once a week.
December 26, 2022 at 10:39 am
I had already done the required but thanks for sharing the link to this article. Definitely it’ll help others.