
Although this is how the website was hosted for a long time, I have since migrated it to AWS instead. This setup worked flawlessly for the entire time it was hosted in this way, and I only moved onto AWS for additional peace of mind and security.
When most people setup a website they buy a domain and hosting. I am not most people. Instead of buying hosting, I took a DIY approach. In this blog I will dive under the hood of The Quality Duck website and share how I created my own hosting.
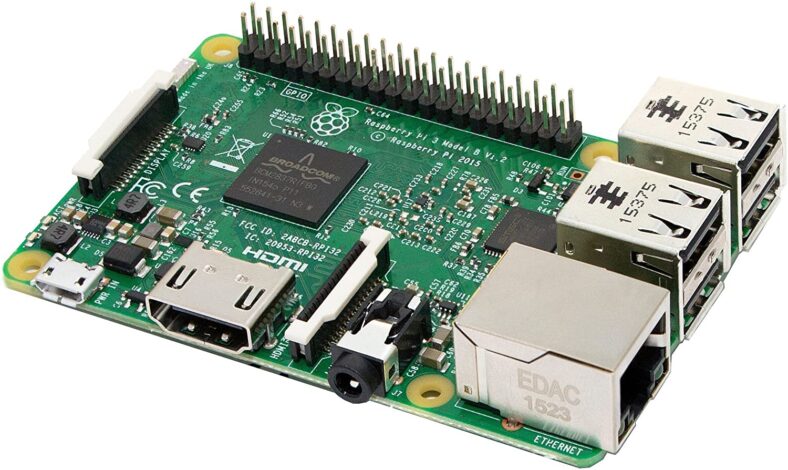
The Hardware
RaspberryPi 3b – Used because I had it, if you are buying one, get a 4.
SanDisk Ultra SD Card – For installing everything on, good quality cards are a must!
Uninterruptable Power Supply – Completely unrequired, but properly cool. This plus a UPS on my WiFi router mean that even during a powercut, the website will remain up as long as the telephone lines do.
KVM switch – A nice to have for me, I have 4 computers and this allows me to use the same peripherals on all of them.
The Software
RaspberryPi OS – a derivative of Debian especially for RaspberryPi
Apache2 – Web server software
WordPress – Website design, creation and management tool
mariaDB – a fork of mySQL and ideal for this use
PHP7.0 – Required for wordpress
XRDP – I adore this! Provides proper “windows” RDP remote desktop support to Linux.
StatusCake uptime monitoring – Provides alerts if the website goes offline
Healthchecks.io cron job monitoring – Provides alerts if any of the scheduled jobs fail to run. This is includes backups and dynamic DNS updates.
GoDaddy for DNS management – useful because they provide API access to update DNS records
Custom dynamic DNS process – checks servers current IP address against the one stored in the GoDaddy DNS records, if they don’t match, it updates GoDaddy
Custom backup process – simple shell scripts to backup website and database data to a NAS
How to
I’m not going to try and rewrite the whole process, but instead will summarise the steps below with links to existing guides.
The essentials
Assemble your RaspberryPi
Install RaspberryPi OS
Install and configure Apache2
Make sure that the required ports (80) on your router are open and test that you get the Apache test page when visiting your public IP
Install WordPress files on the raspberryPi
Install PHP
Install mariaDB
Setup mariaDB
Run the WordPress install script
The nice to haves
Install XRDP – sudo apt install xrdp from the command line
Setup StatusCake
Download and update the shell scripts for dynamic DNS and backups
Setup cronjob monitoring – Do this before setting up the cronjobs, save editing crontab twice.
Setup cronjobs – crontab -e from the command line and add your job to the bottom line of the file by adding the cron value followed by the path the shell script. For cron values use crontab.guru to calculate the correct values.
That’s the easy bit done…
Now you’ve just got to build a website to host!

Subscribe to The Quality Duck
Did you know you can now subscribe to The Quality Duck? Never miss a post but getting them delivered direct to your mailbox whenever I create a new post. Don’t worry, you won’t get flooded with emails, I post at most once a week.
Leave a Reply